We share everything about Electronic Components OEM, ODM, or private label solutions...

We continuously share and publish original articles about electronic components and OEM/ODM/private label solutions. We hope these articles provide you with valuable insights to support your private label electronic components business.

If you don’t want to miss our article, please subscribe to our newsletter. 

Specific model RG316D-SMA jumper assembly with clear labeling.

RG316 vs RG174: Flexibility, Loss & Lab Selection

When should you choose RG316 over RG174, and vice versa? The choice between RG316 vs RG174 often defines whether your signal chain performs like a precision instrument or a quick prototype. Both belong to the 50-ohm coaxial cable family, yet they differ sharply once you look at materials, shielding, and how they behave under real bench conditions.

NCP1207BDR2G current-mode flyback PWM controller in SOIC-8 package

NCP1207BDR2G Flyback Converter Design Guide

Introduction When you’re building a compact flyback converter, there’s often a trade-off between simplicity and precision. The NCP1207BDR2G from TEJTE remains one of those timeless controllers that strikes that balance. Even though it’s now officially labeled Obsolete / Not for New Designs, its efficiency and stability still make it useful for maintaining existing adapters and small auxiliary power modules.

An evaluation board integrated with a high-side switch, connected to diverse loads such as an RF module and a small motor.

High Side Power Switch Design Guide for Modern 5 V & 12 V Rails

Preface Anyone who has spent time around power rails knows they develop personalities of their own. Some wake up politely; others kick back the moment you hook them to real hardware. You can have a clean schematic, perfect simulations, and still get an unexpected dip or a spark when you finally bring the system to life. That’s usually when someone mutters, “Maybe a proper high-side switch would’ve saved us a headache.”

Schematic diagram illustrating the recommended length range for SMA pigtails.

SMA Pigtail: Length, Bend Rules & Routing Inside Enclosures

Preface Short internal coax runs look deceptively simple. Most engineers have seen a module connected to an SMA feedthrough with a tiny piece of RG316 cable and thought, “That should be fine.” But once you close the enclosure—especially a gasket-sealed AP, a LoRa gateway, or an industrial controller—the story can change. One bend too tight, a loop pressing into a hinge, or an unintended adapter chain can quietly raise insertion loss or shorten the connector’s mechanical life.

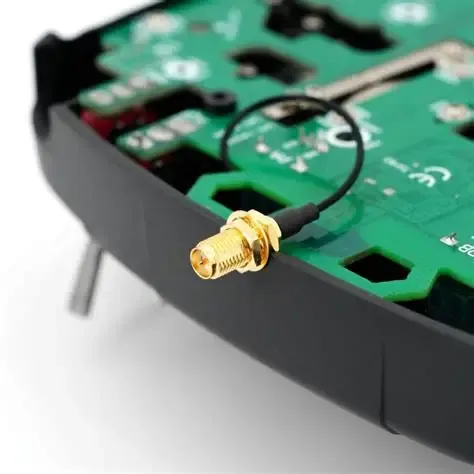
Illustration of SMA Bulkhead connector

SMA Feedthrough: Panel Mount & IP Tips

Many engineers look at an SMA feedthrough as a simple pass-through—until they start mounting hardware inside a cramped cabinet or a weather-sealed box. At that point, small details begin to matter: thread length, the way a nut bites into the panel coating, or how an extra interface shifts a 5 GHz link budget. Field technicians see this a lot. A feedthrough looks trivial, but the wrong gender or orientation often forces them to add adapters, and that’s usually when loss and mechanical stress start creeping in.

Schematic diagram for SMA extension cable length selection

SMA Extension Cable: Length, Loss & Bulkhead Tips

Preface Choosing an SMA extension cable sounds trivial until you see how much it can influence a 2.4 GHz Wi-Fi link, a 5 GHz test setup, or a GNSS front-end with only a few dB of link margin. A run that’s a little too long—or a connector pair added without thinking—can quietly erode SNR, stretch return-loss budgets, and even push small test modules into thermal derating.

Preset lengths of RG316 jumper cables in lab settings for fixtures and instrument routing

RG316 Coax Guide: Specs, Loss, Bend Rules & Lab Use

Preface RG316 coax might look modest at first glance—a slim, flexible cable with a familiar brown FEP jacket—but it has quietly become one of the most trusted jumpers in RF labs. Engineers lean on it for a simple reason: it behaves predictably. Even when squeezed between enclosures, wrapped around fixtures, or pulled across a crowded bench, the combination of a silver-plated stranded core, PTFE dielectric, and tight braid gives RG316 a kind of stability that other thin cables rarely match.

IP67 Weatherproofing Details for N-Type Connectors

SMA to N Adapter: IP67 Outdoor & Bulkhead Guide

Preface Outdoor radio installs, especially those involving mixed interfaces, often look simple until you’re standing in front of an enclosure with an SMA-fed device on one side and an N-type antenna on the other. At that point, the choice between a compact SMA to N adapter and a short, flexible coax jumper becomes more than a mechanical detail—it reshapes your loss budget, sealing strategy, torque plan, and even long-term maintenance. Engineers who have spent time in the field know that the difference between a stable link and a flaky one usually traces back to a few centimeters of metal or cable, not the radio itself.

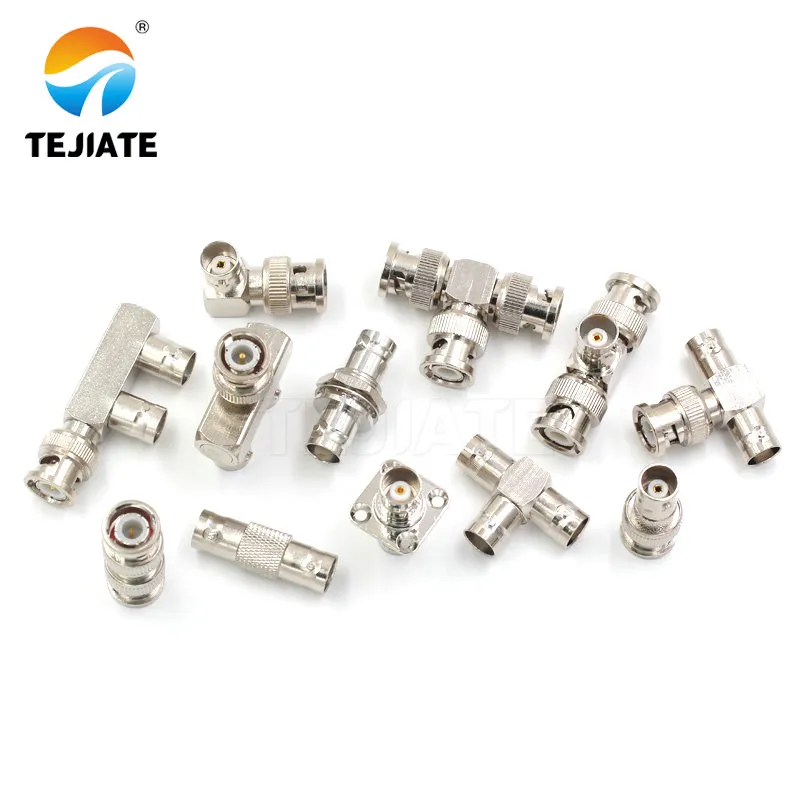
BNC adapter in 75-ohm video signal chain

BNC 50 Ohm vs 75 Ohm: Lab & Video Picking Guide

Preface Walk into any RF bench or CCTV control room and you’ll hear a familiar question: “Is this run 50 ohm or 75 ohm?” It sounds trivial, but the wrong choice can nudge a clean waveform into ripple, or let a video feed slip into soft ghosting. Over years of building test setups and reviewing customer chains, one pattern repeats: most problems don’t come from fancy instruments—they come from the tiny interfaces in between.

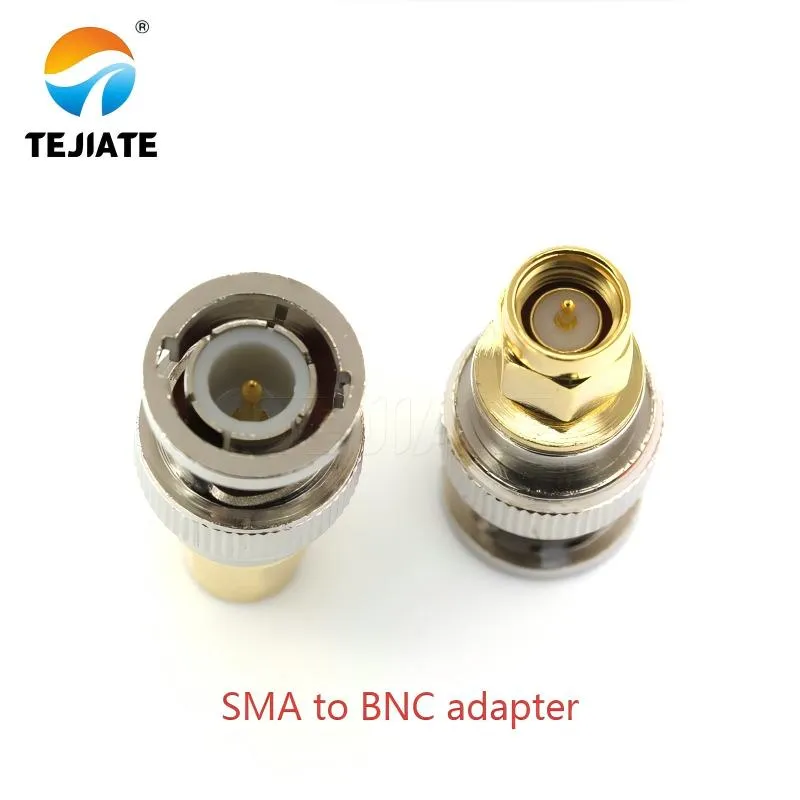
SMA to BNC adapter physical product photo

SMA to BNC Adapter: Direction, Impedance & Lab Mapping

Modern RF benches rely heavily on SMA to BNC adapters, although few engineers stop to think about how much a single interface shapes measurement accuracy. In day-to-day work, the difference between a clean waveform and a noisy one often comes down to a tiny metal body—sometimes no bigger than your thumb—that bridges two worlds. TEJTE’s own experience assembling bench setups for scopes, analyzers, and custom DUT panels echoes this reality: choosing the right direction, impedance, and physical geometry of SMA to BNC adapters directly influences return loss, torque stress, and long-term repeatability.

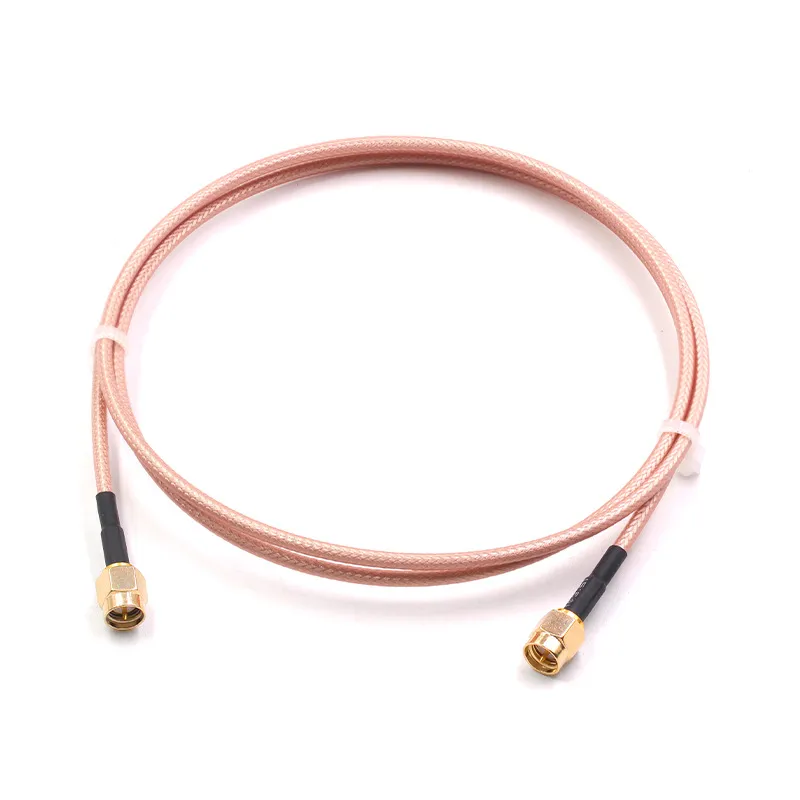
Straight SMA ends for maximum bandwidth and minimum insertion loss

SMA to SMA Cable Guide: Length, Loss & Bulkhead Choices

Preface If you spend enough time around RF test benches, you eventually learn that a clean setup lives or dies on the small details—how long your jumper is, whether a bend is too tight, whether that “quick fix” adapter added a fraction of a dB too much loss. A sma to sma cable seems trivial, but at higher frequencies—5 GHz Wi-Fi, 3–6 GHz lab test bands, or 5G-NR sub-6 setups—the wrong choice can eat directly into your link budget.

Waterproof SMA bulkhead connector for outdoor and automotive applications

SMA to BNC: Cable vs Adapter, Length & Match

Preface In RF benches, one small interface choice often decides whether a clean sine wave stays perfect or drifts into ringing. The link between SMA and BNC connectors—common on oscilloscopes, analyzers, and signal sources—looks trivial but quietly shapes accuracy, repeatability, and mechanical life.