
A VNA trace can look clean and still leave one important question unanswered: what is the impedance actually doing?
Suppose a 50-ohm cable assembly shows acceptable S11 at 2.4 GHz, but the marker shifts as the sweep approaches 6 GHz. A return-loss number tells you how much energy is being reflected. The Smith chart adds another layer. It shows whether the measured impedance is moving toward a lower resistance, a higher resistance, inductive reactance, or capacitive reactance.
That matters when the RF path contains more than one possible source of mismatch. A test cable, adapter, connector transition, coax termination, and load can all move the trace. Looking only at one dB value can hide where the electrical behavior is heading.
The useful way to read a Smith chart is not to memorize every circle. Start with position, then interpret movement.
How Do You Read a Smith Chart Without Memorizing Every Curve?
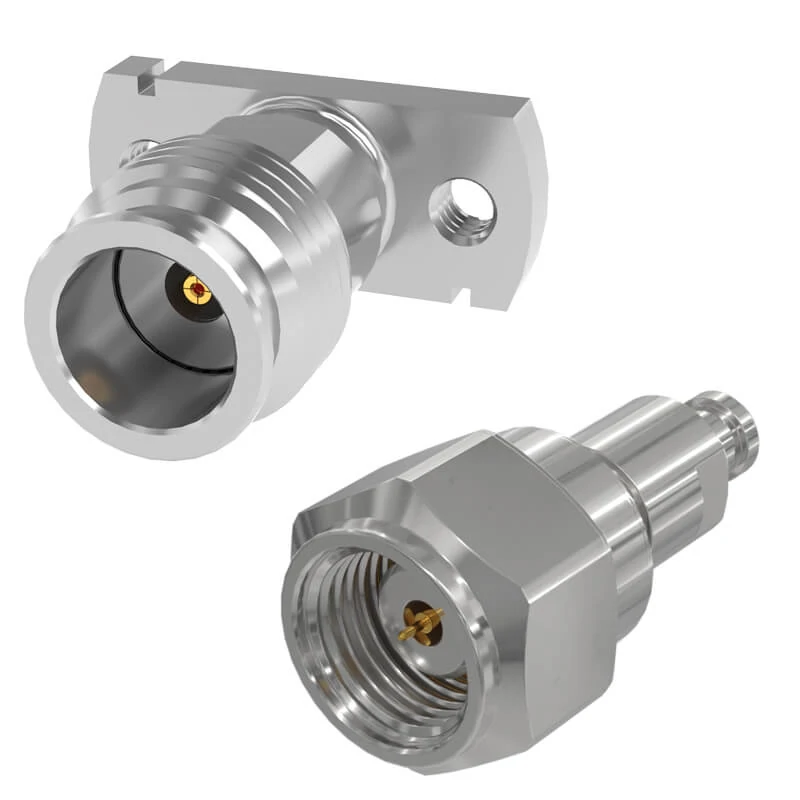
Smith chart analysis helps identify impedance mismatch sources in RF systems, including connectors, adapters, coaxial cables, and loads. By analyzing impedance position and trace movement, engineers can better determine whether issues come from the component or the measurement setup.
A full Smith chart can look intimidating because resistance circles and reactance arcs overlap across the same diagram. For everyday RF troubleshooting, however, you can get useful information before reading exact coordinates.
Start at the center before looking at circles and arcs
The center is the most useful reference point.
That is a purely resistive load equal to the system reference impedance.
Move along the horizontal center line and the impedance is still purely resistive. Move above or below it and reactance has been added.
A practical first-pass reading looks like this:
| Smith Chart Position | First Interpretation | Practical Meaning |
| Center | (1+j0) | Impedance equals reference impedance |
| Left of center | Resistance below | Load resistance is lower |
| Right of center | Resistance above | Load resistance is higher |
| Upper half | Positive reactance | Inductive behavior |
| Lower half | Negative reactance | Capacitive behavior |
| Near outer edge | Large reflection magnitude | Severe impedance mismatch |
The far-left point represents an ideal short circuit. The far-right point represents an ideal open circuit.
Those extreme points are useful references, but most real RF components sit somewhere between them.
Use the upper and lower halves to identify reactance
The horizontal axis separates inductive and capacitive behavior.The resistance is reasonably close to 50 ohms, but the positive reactance tells you that the transition is not electrically neutral. Connector geometry, center-conductor transition, termination dimensions, or added electrical length may be contributing inductive behavior.
The Smith chart does not prove which physical feature caused it. It tells you what electrical condition exists and gives you a direction for the next measurement.
That distinction prevents a common sourcing mistake: treating every point away from the center as proof that the connector itself is defective.
Read distance from the center as mismatch severity
The next visual cue is distance.
A trace close to the center has a relatively small reflection coefficient. As it moves outward, the magnitude of the reflection increases.
This gives engineers a fast visual check during a frequency sweep. A trace that stays tightly grouped near the center behaves very differently from one that swings toward the circumference as frequency rises.
Still, “closer to the center is better” is not a complete acceptance rule.
A broadband adapter, antenna, filter, dummy load, and cable assembly do not have identical impedance targets across frequency. The required limit should come from the actual product specification and operating band.
For related magnitude-based interpretation, understanding S11 and S21 measurements should be treated separately from the Smith chart view. S11 magnitude answers how much reflection is present; the Smith chart helps show the complex impedance associated with that reflection.
Where Should a 50-Ohm Match Appear on the Chart?
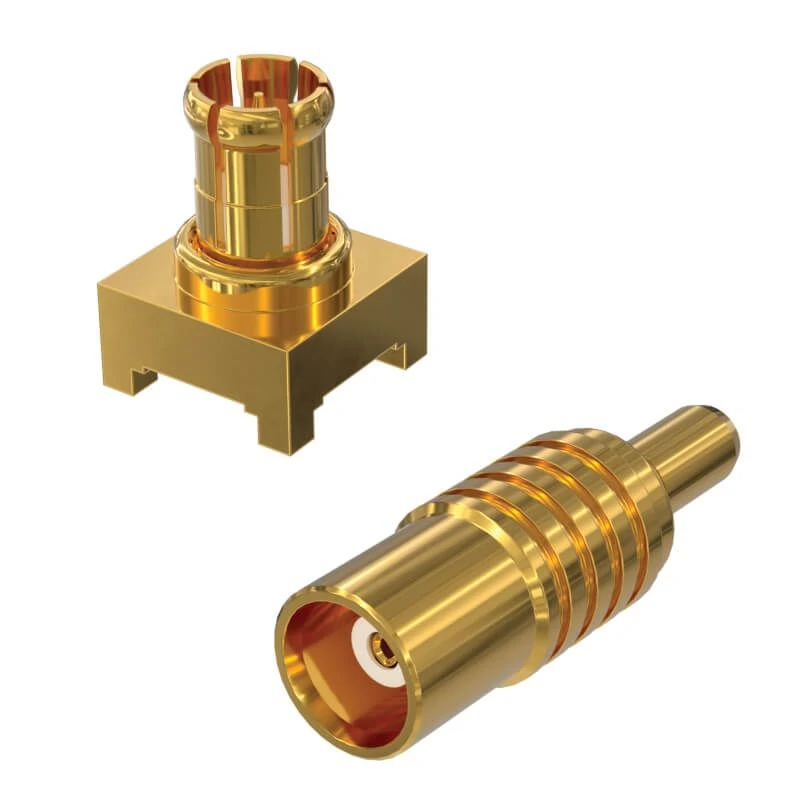
Frequency sweep traces on a Smith chart reveal impedance movement across different frequencies and help evaluate RF component stability over a wide bandwidth.
A 50-ohm load appears at the center only when the Smith chart is referenced to 50 ohms and the measured.
The word nominal is important here. A product sold as a 50-ohm RF connector, terminator, or coaxial cable does not automatically remain exactly over an unlimited frequency range.
Compare 25 Ω, 50 Ω, 75 Ω, and 100 Ω loads on one 50-Ω chart
For purely resistive loads in a 50-ohm system:
| Actual Load | Normalized Impedance | Chart Position |
| 25 Ω | (0.5+j0) | Left of center |
| 50 Ω | (1+j0) | Center |
| 75 Ω | (1.5+j0) | Right of center |
| 100 Ω | (2+j0) | Further right |
The useful procurement lesson is simple: “50-ohm product” and “measured impedance remains close to 50 ohms across the required band” are not the same specification.
For a cable assembly, the connector may be nominally 50 ohms and the coax may also be nominally 50 ohms, yet termination geometry, cable length, bending, adapters, or fixture effects can still move the measured trace.
Re-normalize before comparing 50-ohm and 75-ohm systems
The center of a Smith chart does not permanently mean 50 ohms.
Before comparing Smith chart screenshots from different VNAs, suppliers, or test reports, confirm at least four items: reference impedance, normalization setting, frequency range, and calibration condition.
Without those conditions, two traces may look different even though the devices were not tested on an equivalent basis.
How Do You Convert Complex Impedance Into a Smith Chart Point?
A VNA may already display resistance and reactance at the marker. The harder part is deciding what those numbers mean for the RF path.
The first useful observation is not the exact Smith chart coordinate. It is that the load contains two different .
The positive sign matters. It places the impedance in the inductive half of the chart.
Separate resistance from reactance first
If the system reference impedance is 50 ohms, 35 ohms of resistance is below the target value. At the same time, the term shows that the load is not purely resistive.
So the marker should appear:
- left of the 50-ohm center point because resistance is low
- above the horizontal axis because reactance is inductive
That already gives more information than a simple “mismatch” label.
In practical RF work, the same impedance might come from several different situations. A connector transition may add inductance. A cable termination may have excessive center-conductor exposure. A test adapter may have changed the reference path. The Smith chart shows the electrical result; it does not automatically identify the manufacturing cause.
Normalize R and X using the VNA reference impedance
Their intersection is the normalized impedance point.
This is one reason engineers should record the actual values instead of saving only a screenshot. A picture can show trend direction, but the marker data makes comparisons between samples, frequencies, and repeated mating tests much easier.
Convert normalized impedance into reflection coefficient
S11 magnitude tells you how much of the incident signal is reflected at the measurement port. The Smith chart retains both magnitude and phase information, which is why it can show whether the measured RF impedance is resistive, inductive, or capacitive.
That extra information becomes useful when two samples have similar S11 magnitude but their impedance moves in different directions.
What Does a Moving Smith Chart Trace Reveal Across Frequency?
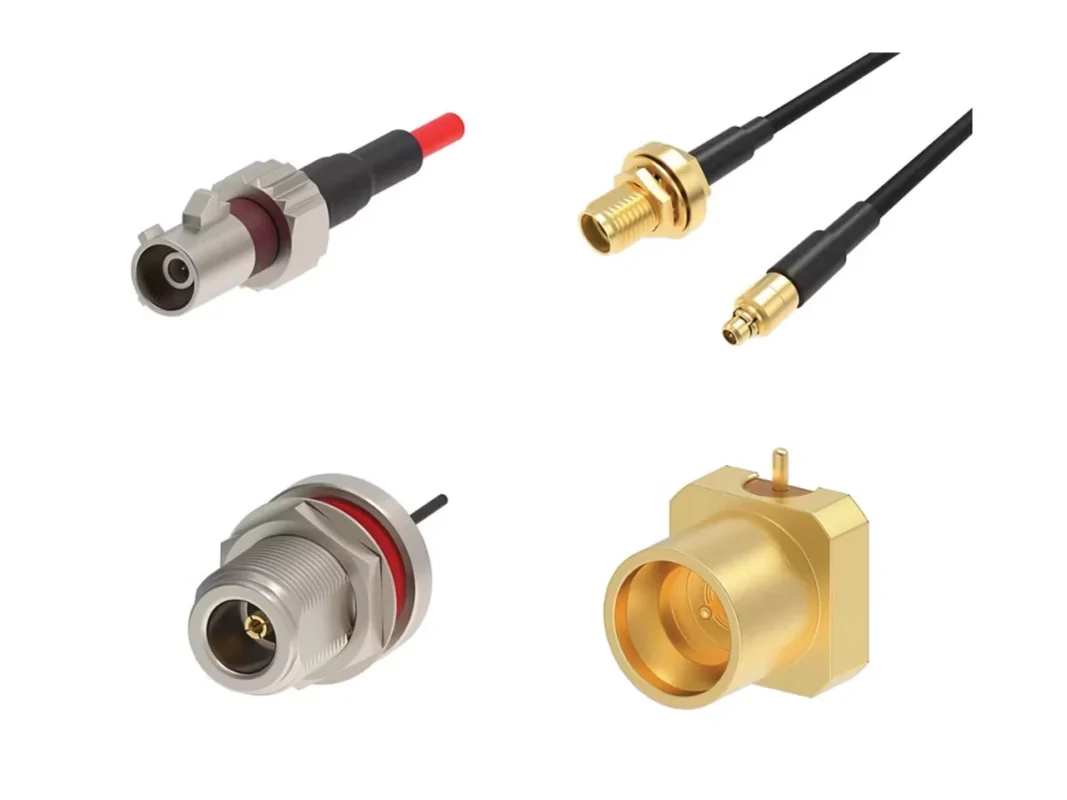
A single marker can be misleading because it represents only one frequency.
A cable assembly may look close to 50 ohms at 1 GHz and move considerably by 6 GHz. The front connector has not physically changed. The electrical length, parasitic effects, dielectric behavior, and discontinuities simply become more visible as frequency rises.
A VNA sweep might follow points such as:
500 MHz → 1 GHz → 2.4 GHz → 3 GHz → 6 GHz
Plot those measurements together and the individual points become a trace.
Treat one marker as a snapshot, not the whole device
Suppose a supplier sends a Smith chart screenshot with a marker placed at 2.4 GHz, almost exactly at the center.
That is useful—but incomplete.
If your equipment operates from 2 to 6 GHz, you need to know what happens across that entire range. A trace that passes through the center at 2.4 GHz but moves sharply outward above 4 GHz may still be unsuitable for the application.
For cable assemblies, check the full sweep against the target band rather than selecting the most attractive marker.
Watch where the trace approaches or leaves the chart center
A trace approaching the center means impedance is becoming closer to the measurement reference impedance.
A trace moving outward means reflection is increasing.
But neither movement is enough by itself to approve or reject a component.
Consider these two RF parts:
| Device | Useful Smith Chart Question |
| 2.4 GHz antenna | Does the trace approach the target impedance around the intended operating band? |
| DC–6 GHz coaxial adapter | Does the transition remain reasonably controlled across the full specified band? |
| 50-ohm terminator | How close does the load remain to (50+j0\ \Omega) as frequency rises? |
| Cable assembly | Does termination, cable length, or bending cause the trace to move unexpectedly? |
The same-looking Smith chart point can therefore mean something different depending on the component and specification.
Interpret loops instead of judging the prettiest point
Loops and rotating traces deserve attention, but they should not be treated as automatic failure signatures.
A large loop may be related to:
- transmission-line electrical length
- resonance
- reactive loading
- connector transitions
- adapter stacks
- cable discontinuities
- multiple reflection points
A long cable can rotate considerably around the chart even when the individual connector interfaces are not defective.
The useful rule is:
trace shape is evidence, not a failure code.
Marker frequency must stay visible during troubleshooting. Without frequency direction, a loop may look dramatic while telling you very little about where the problem begins.
How Can You Separate Connector, Cable, and Load Mismatch?
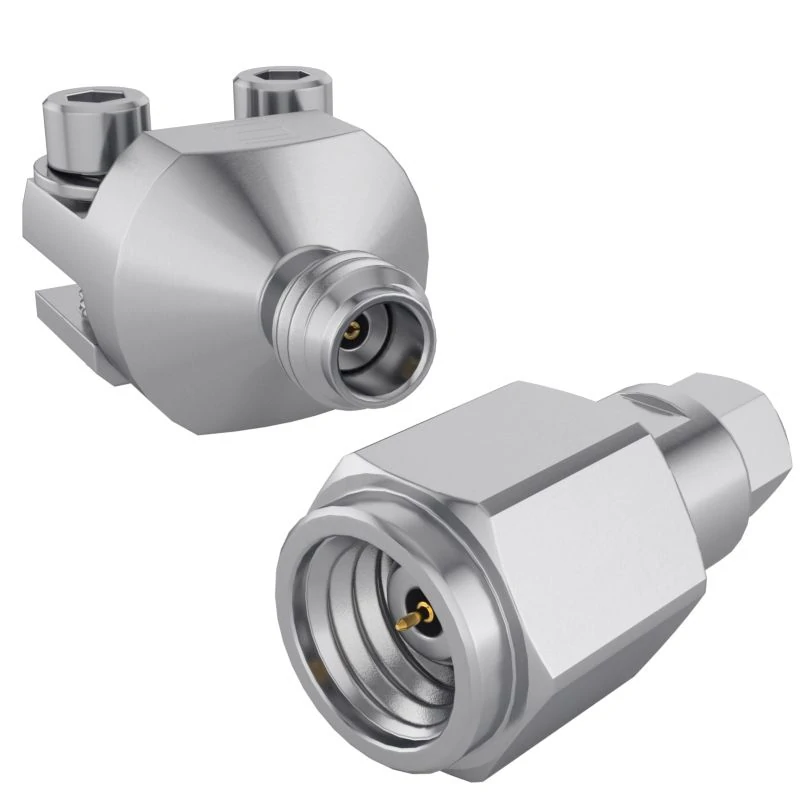
This Smith chart example explains how RF engineers read impedance characteristics by analyzing resistance circles and reactance arcs. The chart helps identify whether an RF component shows resistive, inductive, or capacitive behavior during impedance matching and testing.
This is where Smith chart interpretation becomes useful for real production work.
A measurement rarely contains only the DUT.
The actual path may be:
VNA → Test Cable → Adapter → Connector → Coax → Connector → Load
Everything after the calibrated reference plane can influence the result.
A trace away from the center therefore does not automatically mean:
“The connector is defective.”
Remove one interface at a time during troubleshooting
Changing several components together destroys useful evidence.
A cleaner troubleshooting sequence is:
- Verify the VNA calibration.
- Check the test cable.
- Remove unnecessary adapters.
- Inspect and clean the connector interface.
- Reconnect the DUT.
- Repeat the same sweep.
- Compare trace movement.
- Substitute a known load if the result remains suspicious.
If removing one adapter causes the trace to move noticeably toward the center, that adapter deserves further inspection. If replacing the DUT changes almost nothing, the problem may be elsewhere in the measurement path.
This approach is slower than immediately blaming the latest component, but it is far more useful when production teams need a repeatable corrective action.
Compare rigid adapters with cable assemblies differently
A rigid RF adapter has fewer mechanical variables. Its mismatch is more likely to involve areas such as:
- center-conductor geometry
- dielectric support
- interface alignment
- machining transition
- mating condition
A cable assembly adds more variables:
- coaxial cable impedance
- stripping dimensions
- solder or crimp geometry
- braid contact
- center-conductor length
- bend radius
- cable routing
- connector termination
That difference matters during supplier comparison.
Two SMA-to-N adapters can often be compared under nearly identical mechanical conditions. Two SMA cable assemblies may test differently simply because one sample is routed tightly around the VNA bench while the other remains straight.
The Smith chart is most valuable when the test setup stays controlled. Otherwise, the trace may be showing your measurement conditions as much as the product itself.
Switch to Y when parallel matching becomes easier to visualize
For a series component, the impedance view is usually intuitive. Adding series reactance moves the impedance along a constant-resistance path.
A shunt capacitor or shunt inductor is different. Parallel adjustments are often easier to follow after converting the chart to an admittance view.
This is especially useful when working with:
- shunt capacitors
- shunt inductors
- parallel tuning branches
- antenna matching networks
The purpose is not to turn every cable buyer into a matching-network designer. The practical point is simpler: if the corrective component is connected in parallel, an admittance display may make the movement easier to interpret.
Do not tune around a hardware defect
Matching components should not be used to hide a manufacturing problem.
If a cable assembly suddenly requires additional tuning, first check for:
- wrong impedance cable
- damaged connector interface
- poor center-pin contact
- excessive exposed conductor
- incorrect crimp or solder dimensions
- loose mating
- damaged dielectric
A capacitor can move a marker on the Smith chart. It cannot turn a poorly terminated connector into good production workmanship.
How Do You Read Smith Chart Data From a VNA Correctly?
A Smith chart is only as trustworthy as the measurement setup behind it.
Before interpreting a trace, record the conditions that created it.
At minimum:
- VNA model
- calibration method
- calibration reference plane
- start and stop frequency
- reference impedance
- test cable
- adapters
- connector interface
- DUT condition
For a deeper discussion of calibration boundaries, see moving the VNA reference plane correctly in the related SOLT calibration material.
Use S11 magnitude and Smith view for different questions
These displays are related, but they answer different questions.
S11 magnitude or return loss view:
How much reflection is present?
Smith chart view:
What complex impedance behavior is associated with that reflection?
For the full relationship between S11 and S21, refer to understanding S11 and S21 measurements rather than repeating the complete S-parameter theory here.
How Can You Turn a Smith Chart Into a Matching Decision?
Do not start by asking which capacitor or inductor to add.
Start by defining what the DUT is supposed to do.
Record:
- target frequency
- operating bandwidth
- reference impedance
- acceptable reflection
- operating condition
- measurement setup
A narrow-band 2.4 GHz antenna and a DC–6 GHz coaxial adapter should not be judged with the same matching logic.
Decide what the measured quadrant is telling you
A quick interpretation can be made from position:
| Measured Position | Electrical Condition | Next Check |
| Near horizontal axis | Mostly resistive | Read resistance value |
| Upper half | Inductive | Check (+jX) across frequency |
| Lower half | Capacitive | Check (-jX) across frequency |
| Far from center | Larger mismatch | Verify S11 and measurement path |
| Rapid loop or rotation | Strong frequency dependence | Check electrical length and discontinuities |
This is a decision aid, not a repair prescription.
An inductive marker does not automatically mean “add a capacitor.” First determine whether the inductance is part of the intended RF design or evidence of a bad transition.
How Should You Document Smith Chart Results for RF Acceptance?
A production acceptance report should preserve the sweep, not just the best marker.
Save:
- complete frequency trace
- start/stop frequency
- marker frequencies
- (R+jX) values
- reference impedance
- calibration condition
- reference plane
- DUT identification
For connectors, adapters, and test cables, repeatability deserves special attention.
Disconnect the interface, reconnect it under the same mating condition, and repeat the measurement.
If the trace shifts noticeably after every remating, inspect:
- connector wear
- mating torque
- contamination
- center-contact condition
- mechanical alignment
- cable movement
A product that produces one excellent trace and four inconsistent traces should not be approved based only on the best screenshot.
Smith Chart RF Diagnostic Matrix
Use this matrix when deciding what to inspect next.
| Smith Chart Observation | Electrical Meaning | Possible Hardware Cause | Next Measurement | Action |
| Near center | Close impedance match | Normal transition | Check full band | Accept if specification passes |
| Left of center | Resistance below | Low-resistance load or discontinuity | Read R+jX | Inspect load/path |
| Right of center | Resistance above | High-resistance transition | Read R+jX | Check termination |
| Upper half | Inductive reactance | Interface or lead inductance | Frequency sweep | Inspect transition geometry |
| Lower half | Capacitive reactance | Gap or dielectric capacitance | Frequency sweep | Inspect contact/dielectric |
| Large loop | Strong frequency dependence | Electrical length or resonance | Marker sweep | Locate source |
| Changes after remating | Poor repeatability | Wear, torque, contact | Repeat S11 | Inspect interface |
The matrix should narrow the next test. It should not be used to declare a defect from the chart shape alone.
FAQ
Why can a 50-ohm load appear away from the center of a Smith chart?
“50 ohms” is usually a nominal impedance. At higher frequencies, connector geometry, parasitic inductance, capacitance, load construction, calibration condition, and reference-plane location can move the measured impedance away from.
Does clockwise movement on a Smith chart always mean frequency is increasing?
No. Trace direction depends on the DUT, electrical length, measurement reference plane, and sweep behavior. Use the VNA marker numbers or frequency labels rather than guessing direction from clockwise or counterclockwise motion.
Why does my Smith chart trace make a loop around the center?
Loops can result from resonance, transmission-line electrical length, multiple transitions, matching networks, or cable and connector discontinuities. A loop is not automatically a failure. Check its marker frequencies and compare the behavior with the required operating band.
Should I normalize a Smith chart to 50 ohms when testing a 75-ohm device?
Not automatically. If the intended system is 75 ohms, the VNA reference impedance and calibration setup should match the measurement requirement. The chart center represents the chosen reference impedance, not permanently 50 ohms.
Can a Smith chart tell me exactly where a damaged cable section is located?
A frequency-domain Smith chart can indicate abnormal impedance behavior, but it normally does not provide an exact physical fault distance by itself. Fault-location work may require TDR, time-domain transformation, or distance-to-fault measurement.
Why does the trace change after reconnecting the same SMA cable?
Check mating torque, center-contact wear, contamination, adapter condition, cable movement, calibration drift, and any change in the measurement reference plane. Large movement after repeated mating is a repeatability issue worth investigating.
When is an admittance Smith chart more useful?
Admittance view is often more convenient when evaluating shunt capacitors, shunt inductors, or other parallel matching elements. Series adjustments are usually easier to visualize from the impedance view.