
A splice can look sealed and still fail inside the harness.
That is the uncomfortable part with heat shrink butt connectors. The sleeve may recover smoothly, the adhesive may show at the edge, and the wire may pass a quick continuity check. But if the conductor was not fully crimped into the barrel, or if the sleeve never gripped the insulation diameter correctly, the splice is only pretending to be finished.
For repair work, automotive wiring, outdoor low-voltage equipment, and production harnesses, the real question is not only “does it connect?” It is whether the splice can keep its electrical contact, insulation, and end seal after vibration, bending, moisture, and temperature cycling.
How Do Heat Shrink Butt Connectors Seal a Wire Splice?
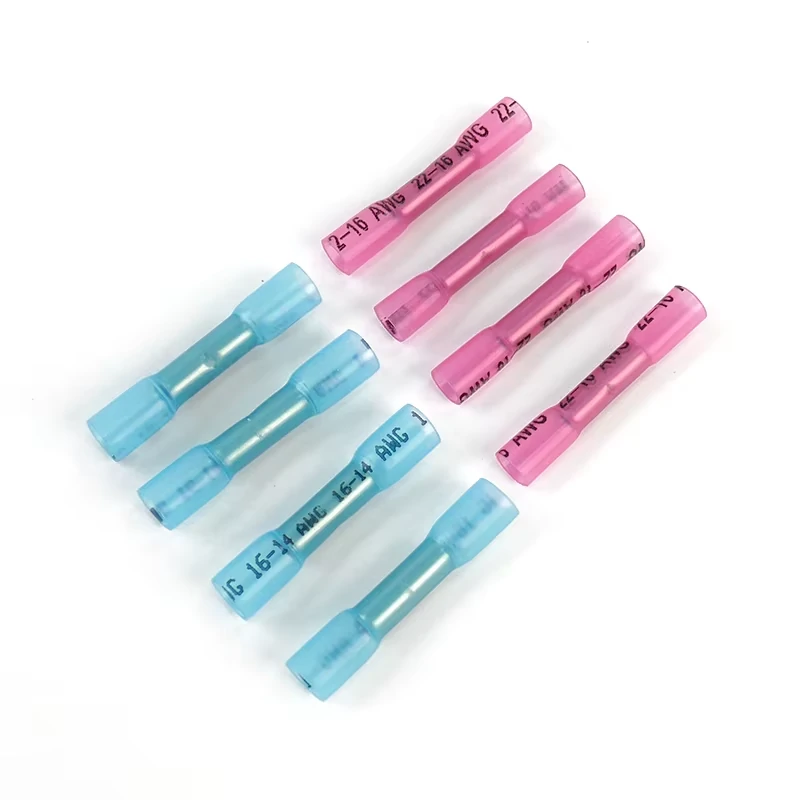
A collection of transparent heat shrink butt connectors arranged together, showing different sizes used for electrical wire joining, insulation protection, and moisture-resistant splice applications.
Heat shrink butt connectors combine two different jobs in one part. The metal barrel creates the electrical and mechanical connection between two stripped conductors. The outer heat shrink sleeve insulates the splice and helps protect the wire entry points from moisture and strain.
Those jobs should not be mixed up. A beautiful sleeve does not prove a good crimp. A strong crimp does not prove a sealed wire entry.
Trace the current path through the metal crimp barrel
Current does not travel through the plastic sleeve or the adhesive. It travels from one conductor into the crimp barrel, through the barrel, and into the conductor on the other side.
That means the barrel material, wall thickness, plating, conductor insertion depth, and crimp compression all matter. If the conductor is under-crimped, only a small section of copper may be touching the barrel. If it is over-crimped, strands can be cut or weakened. Both faults can pass a quick meter check and later show up as heat, voltage drop, or intermittent failure.
For buyers comparing heat shrink butt splice connectors, the sleeve color is usually the least useful detail. The more useful questions are: what wire range is approved, what crimp tool is specified, what strip length is required, and whether the barrel supports the conductor material being used.
Separate the electrical crimp from the environmental seal
A finished splice has four areas to check:
| Area | What It Does | Common Failure |
| Conductor-to-barrel crimp | Carries current and holds the wire mechanically | Loose crimp, cut strands, poor insertion |
| Sleeve recovery | Shrinks around the splice body and wire insulation | Uneven shrink, exposed barrel, sleeve split |
| Adhesive flow | Fills small gaps near the wire entry | One-sided flow, overheated adhesive, voids |
| Wire-entry sealing | Helps block moisture migration at both ends | Wire OD too small, wrong sleeve size, poor heating |
A splice may fail in only one of these areas. For example, the barrel can be electrically sound while the sleeve leaks. Or the sleeve can look sealed while the conductor pulls out because the crimp was made with the wrong die.
This is why production teams should inspect the crimp before heating. Once the sleeve has recovered, it becomes harder to see whether the conductor was centered, whether strands folded back, or whether the barrel was compressed in the correct location.
Distinguish butt-style splices from other heat shrink wire connectors
Heat shrink wire connectors include several product shapes. Ring terminals, spade terminals, fork terminals, and quick-disconnect terminals may all use heat shrink insulation. They terminate a wire to a stud, screw, tab, or mating terminal.
A butt connector is different. It joins wire to wire in line. It is used for extension, repair, branch harness modification, and permanent conductor joining where the splice does not need to be unplugged.
That difference affects inspection. With a ring or spade terminal, the terminal interface is visible after installation. With a heat shrink butt connector, the splice disappears into the harness. If the splice is buried under tape, conduit, or loom, the only practical chance to catch a bad crimp is before final wrapping.
For basic conductor sizing and crimp comparison, see standard butt connector sizing and crimping. For tool selection, die control, and terminal compression issues, compare how to choose the correct crimp tool and die.
Which Sleeve and Adhesive Construction Matches the Exposure?
The sleeve is not just decoration. It decides how the finished splice handles abrasion, bending, moisture, and heat. Still, buyers should be careful with broad labels such as “waterproof,” “marine,” or “automotive.” Those words are useful search terms, not complete engineering specifications.
Compare single-wall and dual-wall sleeve construction
Single-wall heat shrink connectors mainly provide insulation and strain relief. They can be suitable in dry, protected harness areas where the main concern is covering the metal splice and reducing minor flex at the wire entry.
Dual-wall versions usually include an outer shrink sleeve and an inner adhesive layer. During heating, the sleeve recovers and the adhesive softens, flows, and bonds around the wire insulation. This construction is common in adhesive lined heat shrink connectors used for wet or dirty environments.
But dual-wall does not automatically mean the connector is suitable for every outdoor or submerged application. Sleeve material, adhesive chemistry, wire insulation compatibility, heating process, and the finished assembly test all affect the result.
Choose adhesive lined heat shrink connectors for moisture control
Adhesive lined heat shrink connectors are useful when splash, condensation, or humidity could reach the splice. The adhesive helps reduce moisture entry at the wire ends, especially where the wire insulation OD matches the recovered sleeve range.
The fit must be real, not assumed. A thin-wall wire with a small insulation diameter may leave too much gap after recovery. A thick insulation jacket may be hard to insert or may prevent uniform shrinking around the end.
This is also why one connector size may not work well across every wire brand, even when the AWG is the same. A 16 AWG automotive primary wire and a 16 AWG high-temperature wire can have different insulation thickness, hardness, and surface behavior.
Check shrink ratio, recovered diameter, and sleeve length
Do not select heat shrink connectors by color alone. Color can help identify a size family, but it is not a universal standard across every supplier.
Check these values before approval:
| Item | Why It Matters |
| Supplied inside diameter | Confirms the insulated wire can enter before heating |
| Fully recovered inside diameter | Shows whether the sleeve can grip the wire after heating |
| Shrink ratio | Affects fit across different insulation diameters |
| Sleeve length | Controls coverage beyond the metal barrel |
| Longitudinal shrinkage | Helps predict final sleeve position |
| Adhesive coverage | Affects seal consistency at both wire entries |
Treat transparent sleeves as an inspection aid, not proof of quality
Transparent heat shrink butt connectors are useful because operators can see wire insertion, barrel position, and some crimp marks before and during installation. That helps reduce obvious mistakes.
But transparency does not prove electrical quality. It does not measure pull force, voltage drop, insulation resistance, or moisture resistance. It only makes some faults easier to see.
A clear sleeve is a window, not a test report.
How Do You Match AWG, Barrel Size, and Wire Insulation?
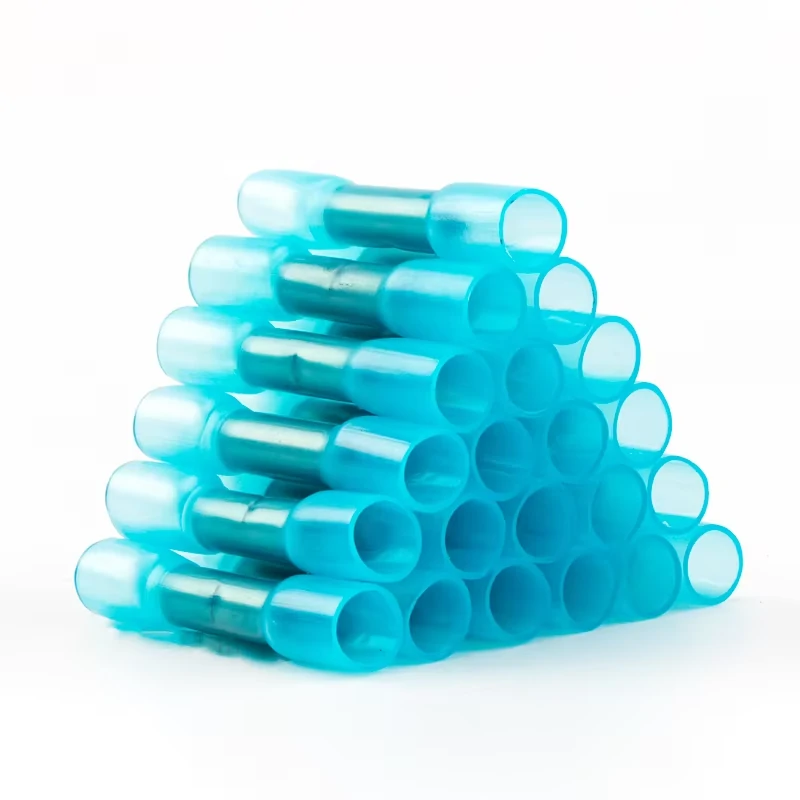
Multiple blue and red heat shrink butt connectors displayed with wire gauge markings, illustrating size identification for different AWG wire ranges and electrical splice requirements.
The connector must fit two things at the same time: the conductor inside the barrel and the insulated wire inside the sleeve.
Many splice problems come from checking only one of those dimensions. The conductor may fit the barrel while the insulation is too small for the sleeve to seal. Or the sleeve may shrink nicely while the conductor is loose inside the metal tube.
Match both conductors to the approved wire range
Check Wire A and Wire B separately. This sounds obvious, but mixed-gauge repairs are common. A technician may join a heavier feed wire to a smaller device lead, or a harness repair may combine different insulation materials.
If both wires are within the same approved range, use the connector according to the manufacturer’s strip length and crimp instructions. If the two wires differ significantly, do not trim strands from the larger wire to make it fit. That reduces current capacity and weakens the joint.
Use a step-down butt connector when the splice is intended for unequal wire sizes.
Measure insulation diameter before assuming the sleeve will seal
AWG tells you conductor size. It does not fully tell you insulation outside diameter.
PVC, XLPE, silicone, and high-temperature insulation may recover differently under heat. Some materials are soft and compress easily. Others resist adhesive bonding or deform if heated too aggressively. A splice that works on one wire stock may fail after procurement changes the wire supplier.
For repeat orders, add wire insulation OD to the BOM or inspection note. It is a small detail that prevents a lot of argument later.
How Should You Crimp the Barrel Before Heating?
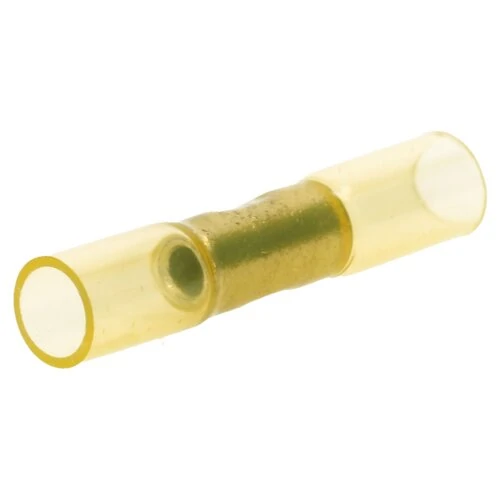
A yellow heat shrink butt connector featuring a metal crimp barrel and insulated sleeve, suitable for larger wire gauge connections and electrical harness assembly.
The crimp is the part you cannot repair with heat.
Once the sleeve has recovered, it is tempting to judge the splice by the outside: smooth tubing, no exposed copper, a little adhesive at each end. That is useful, but it comes too late. The electrical connection has already been decided by the wire preparation, conductor insertion, crimp die, and barrel compression.
Cut back oxidized, wet, or strand-damaged wire
Do not splice onto bad copper unless the job is only temporary and clearly labeled that way.
Darkened strands, green corrosion, water inside the insulation, or broken wire ends are warning signs. If that material is crimped into a new heat shrink butt connector, the finished splice may look fresh while the conductor inside remains weak. Corrosion increases contact resistance. Broken strands reduce current capacity. Moisture trapped under insulation can migrate beyond the repaired area.
For field repairs, cut back until the conductor is bright, dry, and mechanically sound. If the damage continues too far into the harness, the correct repair may require replacing a longer wire section rather than adding one short splice.
Strip each wire to the specified insertion depth
Strip length is not a guess.
Too little strip length leaves part of the conductor outside the crimp zone or prevents full insertion into the barrel. Too much strip length can expose bare copper beyond the barrel or allow strands to extend into the transition area where the sleeve should seal around insulation.
A good heat shrink butt splice usually has the stripped conductor fully inside the metal barrel, with insulation entering the sleeve area but not being trapped inside the conductor crimp. That boundary matters. Insulation inside the barrel can prevent proper conductor compression. Exposed copper outside the barrel can create corrosion and short-circuit risk.
For production work, strip length should be written into the work instruction. For repair kits, it should be checked against the connector packaging or supplier drawing.
Center the conductors without trapping folded strands
Before crimping, confirm that all strands enter the barrel. Fine-strand automotive and control wires are easy to damage during insertion. A few strands can fold backward under the sleeve, especially if the operator twists the wire roughly or pushes it through a tight entry.
Folded strands are not just a cosmetic issue. They reduce the conductor area inside the crimp and may pierce or distort the heat shrink sleeve during compression or heating.
Both wire ends should meet the intended insertion position inside the barrel. They should not overlap randomly, and one side should not be pushed too far while the other barely enters. If the connector has a center stop, use it. If it does not, the operator needs a visual or measured method to keep the splice balanced.
Use the specified crimp tool, die cavity, and terminal orientation
A heat shrink crimp connector should not be flattened with ordinary pliers.
The correct crimp tool controls the compression shape and force. A ratcheting crimp tool with the proper die cavity gives more repeatable results than an open pair of pliers or a general-purpose cutter. The die cavity must match the connector size and barrel type, not just the sleeve color.
Terminal orientation also matters. Some dies are designed to compress the seam side or the solid side of the barrel in a specific direction. If the connector is rotated incorrectly, the crimp may form unevenly or split the barrel.
A practical production rule is simple: tool model, die cavity, and crimp position should be locked before operators begin batch work. If substitutions are allowed, they should be qualified, not improvised at the bench. For broader terminal comparison, see choose the correct crimp tool and die.
Complete the mechanical check before applying heat
Before heating, inspect the crimp.
Check that the sleeve has not been cut by the die, the barrel area has a proper compression mark, and the wire did not move during crimping. A light pull check can catch obvious loose crimps, but it should not replace a defined pull-force test when the application is safety-related or production-controlled.
Continuity alone is a weak test. A splice can show continuity with only a few strands touching the barrel. If the circuit carries meaningful current, that weak contact may heat under load.
The sequence should be: prepare wire, insert wire, crimp barrel, inspect crimp, then heat the sleeve.
How Can You Shrink the Sleeve Without Damaging the Wire?
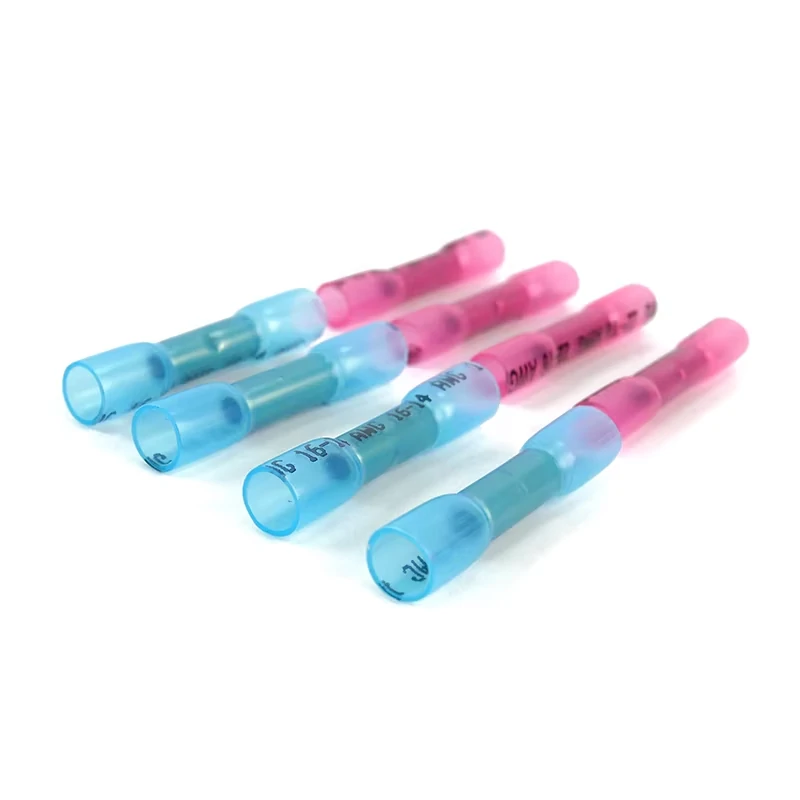
Blue and red waterproof heat shrink wire connectors designed for electrical wire repairs, automotive harnesses, outdoor wiring, and moisture protection applications.
Heating is not just making the tube smaller. It is controlling sleeve recovery, adhesive flow, and wire insulation temperature at the same time.
Too little heat leaves gaps. Too much heat burns the sleeve, damages insulation, or pushes adhesive away from the area that needs sealing.
Use a controlled heat source with the correct nozzle
A heat gun is usually the safer tool because temperature, airflow, and distance can be controlled. A reflector nozzle can help distribute heat around the splice instead of cooking only one side.
A lighter or open flame is risky. It creates uneven heat, soot, scorch marks, and local overheating. Some field technicians use flames because they are convenient, but convenience is not the same as process control. Unless the connector instructions clearly allow that method, use a controlled heat source.
For production teams, record the heat gun model, temperature setting, nozzle type, and approximate heating distance. These details make the process repeatable.
Begin near the center and move toward both wire entries
Start heating near the middle of the connector, then work toward each end while rotating the splice. This helps the sleeve recover around the barrel first and pushes air and softened adhesive toward the wire entry points.
If heating starts only from one end, adhesive can flow unevenly. One side may show a good bead while the other side remains under-shrunk. The result looks half-finished because it is half-finished.
For thicker wire insulation or larger connectors, heating may take longer. Do not solve that by holding the nozzle in one place. Increase control, not aggression.
Keep the heat moving instead of holding it over one spot
A damaged sleeve usually tells a story: the heat source was too close, too hot, or too still.
Watch for sleeve gloss changes, bubbling, smoke, discoloration, splitting, or insulation softening. These are not signs of a stronger seal. They are signs that the assembly is being damaged.
The goal is even recovery around the connector body and both wire entries. Adhesive should flow enough to fill the interface, but it should not be boiled, burned, or blown away by excessive airflow.
Stop when recovery and adhesive flow are complete
More heat does not always mean more sealing.
Once the sleeve has fully recovered and adhesive flow is visible or otherwise confirmed according to the connector instructions, stop heating. Overheating can thin the sleeve, degrade the adhesive, soften nearby insulation, and create a brittle repair area.
Let the splice cool naturally. Do not pull, bend, tape, loom, or energize it while the adhesive is still soft. A splice that moves during cooling can lose the seal it just formed.
How Do You Verify Adhesive Flow and End Sealing?
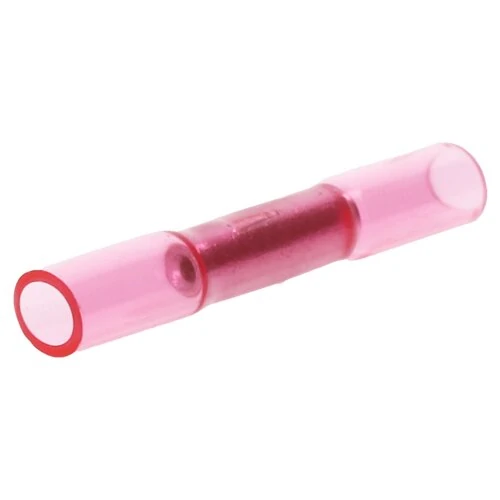
Close-up view of a transparent heat shrink butt splice connector showing the internal metal barrel and outer sleeve structure used for wire crimping and sealing.
Inspection should happen after cooling, not while the connector is still warm and flexible.
Look for controlled adhesive beads at both wire entries
A small, continuous adhesive bead at both ends is usually a good sign. It suggests the sleeve recovered around the insulation and the adhesive reached the wire entry area.
But the bead should be controlled. Excessive adhesive does not automatically mean better sealing. Missing adhesive on one side, one-sided flow, or a sleeve that recovered unevenly should trigger closer inspection.
Reject splits, scorch marks, bubbles, and exposed barrel areas
A sealed splice should not show sleeve cracks, burn marks, bubbles, exposed metal, or softened wire insulation. These defects may indicate the wrong connector size, incorrect heat setting, poor nozzle control, or wire insulation that does not tolerate the heating process.
If the splice is used in a wet or vibrating environment, do not accept “almost good.” Small defects at the wire entry can become the path for moisture, corrosion, and eventual electrical failure.
Verify the seal only after the assembly has cooled
After cooling, check the splice again. The sleeve should feel stable, the wire entries should not open when lightly handled, and the adhesive should not smear or shift.
For demanding applications, visual inspection is only the first layer. Use pull testing, resistance checks, and application-specific moisture testing when required. A visible adhesive ring is useful evidence, but it is not the same as an IP rating, immersion approval, or long-term environmental qualification.
Why Do Heat Shrink Splices Leak, Split, or Pull Apart?
Most failures are not mysterious. They usually come from a size mismatch, a weak crimp, or uncontrolled heating.
A splice that leaks at the wire entry often started with the wrong insulation diameter. If the wire OD is too small, the recovered sleeve may not grip tightly enough for the adhesive to seal the gap. If the wire OD is too large, the sleeve may stretch, split, or refuse to recover evenly.
A splice that pulls apart usually points back to the barrel. The sleeve may add support, but it is not supposed to replace a proper conductor crimp. If the wire slides out after heating, the crimp was already wrong.
Uneven adhesive flow is another common clue. Adhesive on only one side can mean the connector was not centered, the two wire insulation diameters were different, or the heat was applied from one direction for too long. Overheating creates its own damage: scorch marks, bubbles, softened insulation, sleeve splitting, or adhesive that looks burned instead of smoothly flowed.
Vibration adds one more problem. A heat shrink butt connector creates a slightly rigid section in the harness. If that section sits exactly where the wire bends repeatedly, the splice becomes a stress point. Use clamps, loom, or strain relief so movement is carried by the harness, not by the crimp barrel.
Where Should Waterproof Heat Shrink Connectors Be Used?
Waterproof heat shrink connectors are useful in places where ordinary insulated butt connectors would be exposed too easily.
Automotive wiring is a common example. Splash water, road salt, vibration, and temperature cycling can attack a repair splice quickly. A sealed splice can help, but only if it is placed correctly and supported in the harness. Engine compartments also bring heat, oil, tight routing, and service access limits, so the connector rating should match the actual location.
Marine and high-humidity wiring needs even more caution. The word “marine” should not be treated as proof by itself. Salt, standing moisture, and corrosion risk require the right materials and a verified installation process. For boat wiring, outdoor sensors, trailers, low-voltage lighting, and control equipment, adhesive lined heat shrink connectors can reduce moisture entry when installed correctly.
Continuous submersion is different. Do not assume a heat shrink splice is suitable for underwater use unless the complete wire, connector, seal, and installation method are rated and tested for that condition.
When Should Temperature, Voltage, and Certification Claims Be Verified?
Product claims need boundaries.
“Water-resistant,” “sealed,” and “waterproof” are not the same statement. A connector may resist splash but not immersion. It may seal well on one wire insulation material but not another. It may meet a test condition only when installed with a specific crimp tool and heat process.
Check the rating of the complete splice, not only the sleeve. Confirm conductor range, voltage, current, operating temperature, wire insulation compatibility, approved tool, and installation instructions.
Certification language should also be read carefully. UL includes sealed wire-connector systems under UL 486D, but that does not mean every heat shrink sleeve and barrel combination is automatically a certified sealed system. The evaluated product, wire range, and installation method matter. See UL Connector Certification Services for the broader certification context.
If the buyer changes wire gauge, insulation type, crimp tool, heat gun setting, or connector supplier, the old test result may no longer apply cleanly.
How Can Production Teams Qualify a Repeatable Splice Process?
A good splice process should be repeatable by different operators, not dependent on one careful person at one bench.
Build samples using the actual connector, actual wire, approved crimp tool, chosen die, and planned heat source. Do not qualify the process with “similar” materials if production will use something else.
Lock the process into a work instruction:
| Process Item | What to Record |
| Connector | Model, size, production lot |
| Wire | AWG, insulation OD, material, lot |
| Crimping | Tool, die cavity, crimp position |
| Heating | Heat gun, nozzle, setting, distance, time |
| Inspection | Adhesive bead, sleeve recovery, defects |
| Testing | Pull force, resistance, moisture test if required |
FAQ
Should a heat shrink butt connector be crimped before it is heated?
Yes. Crimp first, inspect the mechanical connection, then heat the sleeve. Heating first can move the connector and make correct crimping difficult.
Can I reheat the connector if adhesive does not appear at both ends?
Sometimes, if the product instructions allow it. Reheat evenly and carefully, but first check whether the wire OD, sleeve position, and connector size are correct.
Can heat shrink butt connectors join two different wire gauges?
Only if the connector is rated for both wire sizes. For a large size difference, use a step-down butt connector rather than cutting strands from the larger wire.
Can I use one connector size for different AWG wires?
Only if both wires fall within the connector’s approved wire range. For a big size difference, a step-down butt connector is safer than trimming copper strands to make the wire fit.
Why does a finished heat shrink splice pull apart?
Most of the time, the barrel was under-crimped, the wrong die was used, or the wire was not inserted deeply enough. The heat shrink sleeve adds insulation and sealing, but it cannot replace a proper mechanical crimp.